
I have therefore created an updated walk-through with accompanying screenshots below. (Google Doc Version Available Here)
*** I also suggest creating an account and logging in if this will be your screencasting program of choice (archives videos for you.)

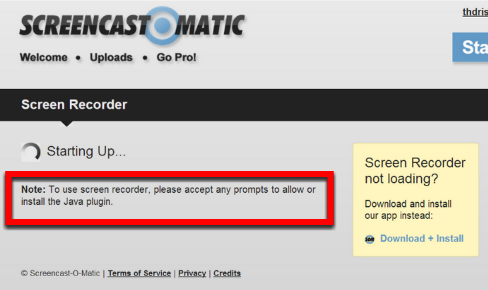
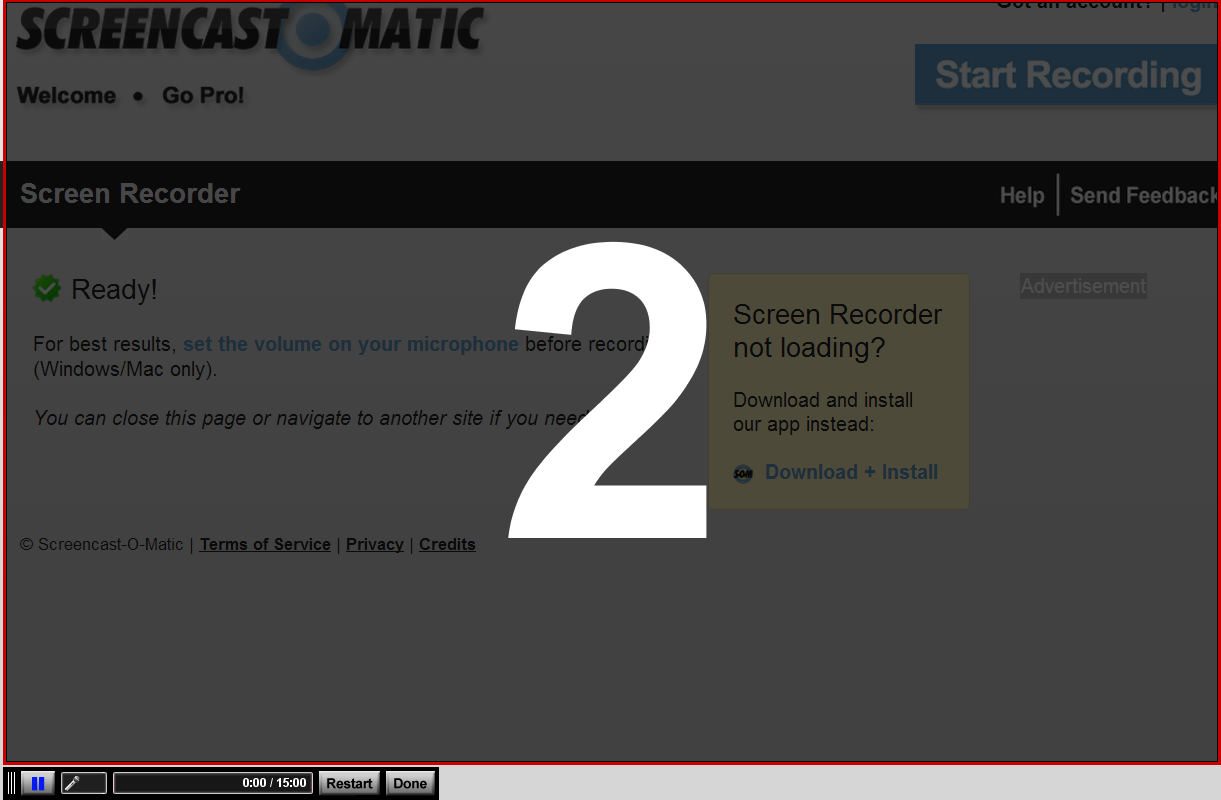
2. When starting up, you may have to accept prompts to allow or install the Java plugin.
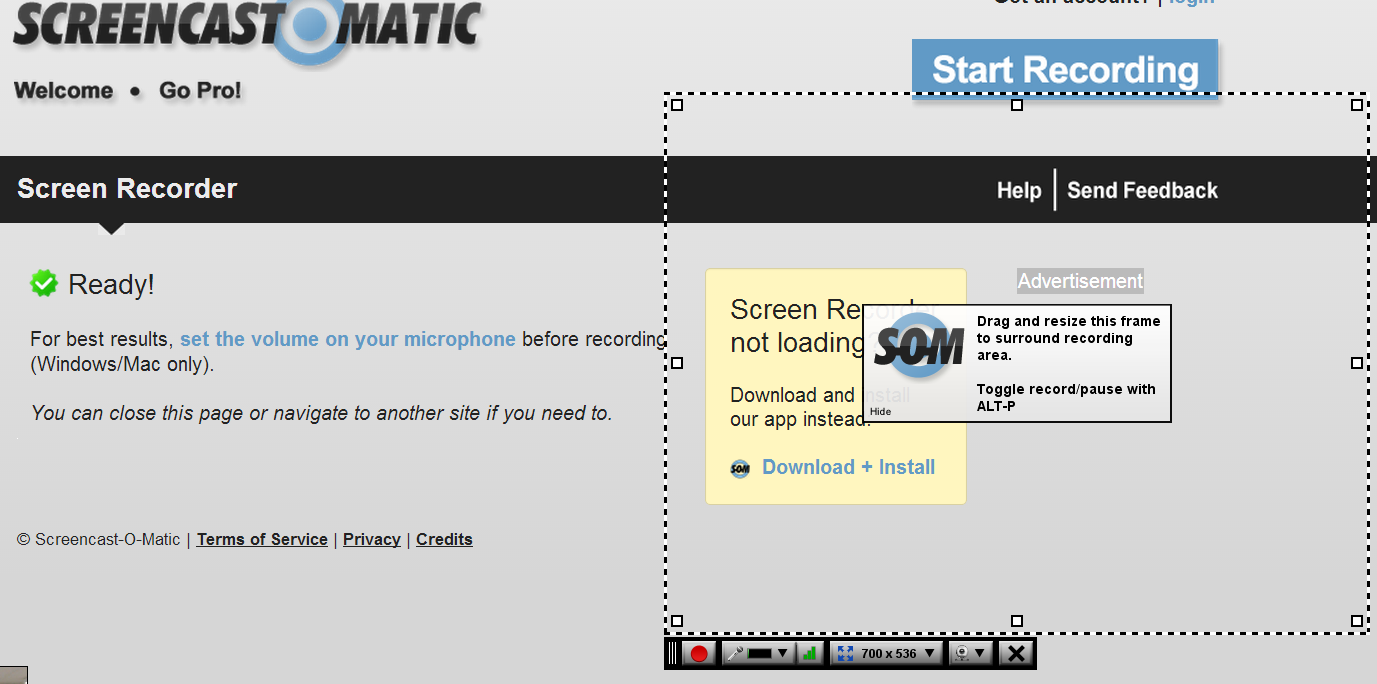
3. Recording Window Will Appear With Options
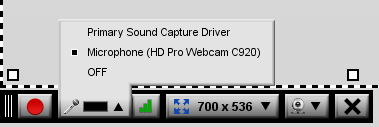
4. Select Your Microphone
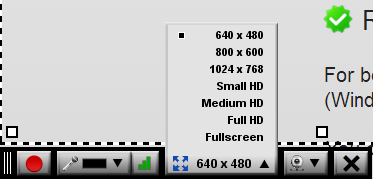
5. Select Recording Area
6. Select Webcam

7. Click Record (Countdown Will Appear)
8. Choose Restart or Done When Complete

9. Preview Window Will Appear

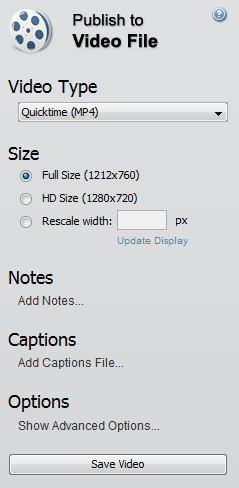
10. Publish Your Video (3 OPTIONS)
Screencast-O-Matic (Must Be Logged In)
|
YouTube
|
Video File
|
 |  |  |
No comments:
Post a Comment